Logging into the WebGUI for the First Time
Contents
Introduction
The details of the webGUI user interface are described in Overview of the User Interface. This topic describes the aspects unique to the initial login.
Logging into the WebGUI
Once access is made to one of the KeyControl nodes in the cluster, the following screen is displayed:
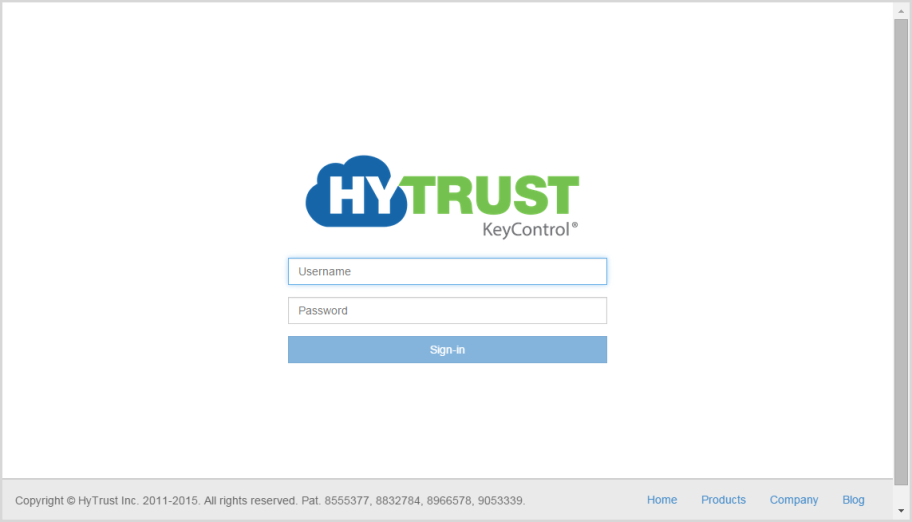
During install, a single administrator is automatically created with a Username of secroot with a Password of secroot.
NOTE: The secroot user is a special case, in the sense that this user is automatically created, and can only be authenticated using Local (Password) authentication. You can create other users with either Local or RADIUS authentication. For details, see Authentication.
After logging in for the first time, you will be presented with the EULA (one time only).

~ ~ ~ ~ ~ ~ ~ ~ ~ ~ ~ ~ ~ ~ ~ ~ ~ ~ ~ ~ ~ ~ ~ ~ ~ ~ ~ ~

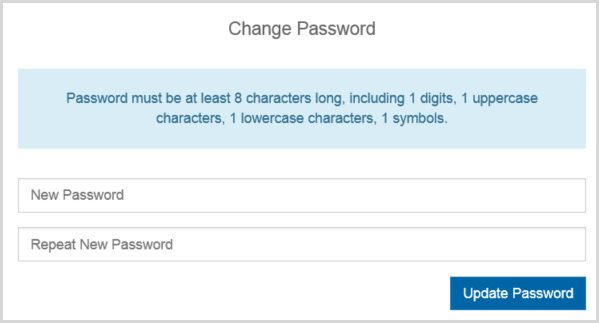
Once you accept the EULA, you will be prompted to change the default secroot user password. A minimum of 8 characters is required for the password. You will also enter an email address for this user if you wish to have email alerts enabled.
See the section Default Settings for changing password defaults and other default settings.
In the most common case the KeyControl cluster relies on email to send out alerts, pieces of the Admin Key, etc. Note that we do support cases where there is no email access available. In this case just check the No email access box and leave all fields blank apart from typing old/new passwords. If you do check this box, Admin Key parts will be sent as alerts which you can view by clicking the Alerts link at the top right of the screen. We describe handling of Admin Key parts in the section KeyControl Backup and Restore.
If you have email access, it is important that you ensure that you are able to receive email sent out by the KeyControl. Several ISPs and email service providers will reject email from improperly configured hosts. In order to ensure that email is reliably sent out, we recommend that you use an SMTP mail relay host (Ask your email administrator if you do not know the identity of your corporate email relay host). Examples for public mail systems include:
- smtp.gmail.com - Google Gmail- port can be 25 (or 587)
- smtp.live.com - Hotmail - (SSL enabled, port 587)
- smtp.mail.yahoo.com - Yahoo mail - (SSL enabled, port 995)
For a more extensive list, please refer to http://www.emailaddressmanager.com/tips/mail-settings.html
Some ISPs block port # 25 in order to cut down on spam. Check if this is the case with your ISP. If so, try using port 587 which most mail servers now support. Click the Send Test button to verify that it works for you.
To change the mail settings at a later date, refer to Mail Settings.
Once you click Apply you will receive an Admin Key part in email within a minute or so. Be sure that this arrives in your specified mailbox. Keep this email safe since this key will be needed to restore the KeyControl node from backups, and other recovery situations.
For further details about distributing the Admin Key parts, see the section KeyControl Backup and Restore for further details.
Default Settings
Default settings for Users, Clusters, Cloud, and System Settings all appear under the Settings icon, which appears as a cogwheel on the home screen in all modes: It is at the right side of the screen. It is described in detail in Default Settings.
Viewing and Managing Alerts From the WebGUI
Alerts are posted to administrative groups in response to various actions. Examples of alerts are:
- Login disallowed for a user after typing the password incorrectly up to the maximum number of tries (that number is configured by you, the administrator)
- Attempting to add a new KeyControl node or Policy Agent fails due to license checks
- You hit space usage thresholds on the Policy Agent
Below is the User Alerts screen for the secroot user:
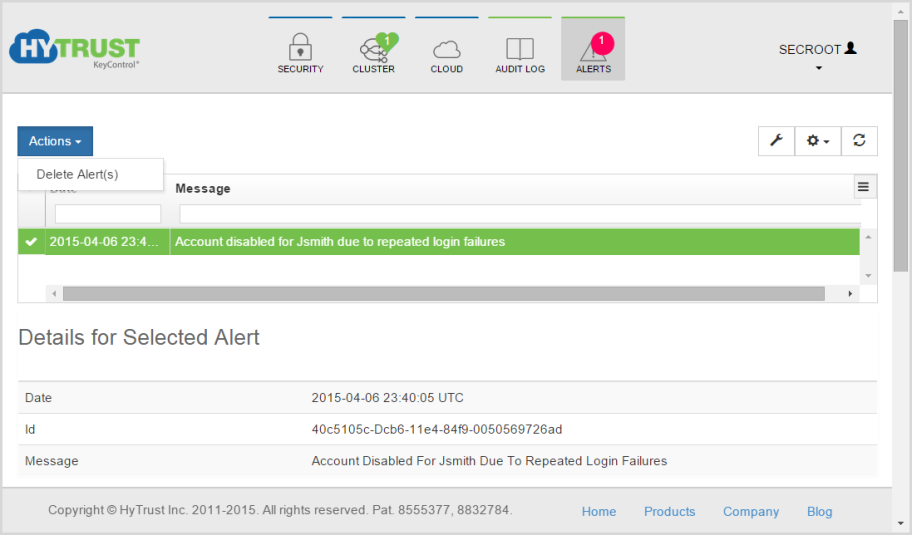
Alerts can be deleted by clicking the checkmark icon on the left for each alert you want to select, and then clicking the Actions button, and then clicking Delete Alert(s). To delete all alerts select the checkmark icon on the far left of the grid, to the left of Date, and then clicking Delete Alert(s).
Even though alerts are posted to all members of a group, the alerts reside in each user's alert mailbox. Thus, deleting an alert will only delete the alert for that user. Alerts are also sent to the Security Administrator's email address.
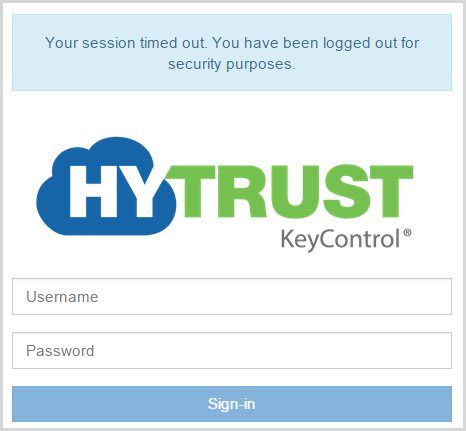
Session Timeout
When logged on, if there is no activity for 30 minutes, your session will time out and you will be required to log on once again.