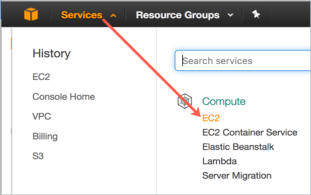
Click Services > EC2.
Deploying a KeyControl node into Amazon Web Services (AWS) requires setting up several components depending on the type of the deployment. The following topics provide step-by-step directions for each of the deployment types, starting with the initial KeyControl node, then adding an Elastic Load Balancer and adding nodes in the same Availability Zone, a different Availability Zone, and a different Region.
| Note: | In addition to encrypting regular data partitions, you can also encrypt your root and swap partitions. Encrypting root and swap partitions ensures that clear-text data never leaves the VM on its way to storage. This prevents virtualization and storage admins from being able to view the data. For details, see Encrypting Root and Swap Drives on AWS. |
To begin with, you need to have an existing account on Amazon Web Services. You will start by logging in to that account.
Click Services > EC2.
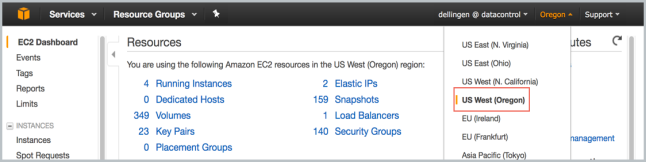
At the top right of the EC2 Dashboard, click your deployment region from the drop-down list. In the example below, US West (Oregon) is chosen, but you should choose based on your needs.
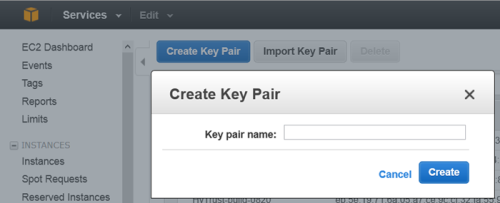
Click Create a Key Pair.
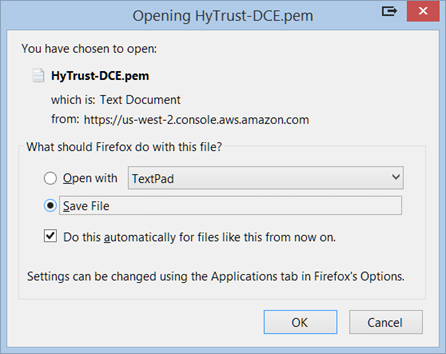
The private key file is created and you may get the option to Open it or Save it. Choose Save File, if you have that option. The likelier case is that it is downloaded automatically. The screen shot below shows the Firefox download dialog box.
The Key Pair is automatically downloaded by your browser as a .pem file into the default download location for your system. Save your .pem file. The base file name is the name you specified as the name of your Key Pair, and the file name extension is .pem. Save the private key file in a safe place; you will refer to it at various points in your interaction with your system.
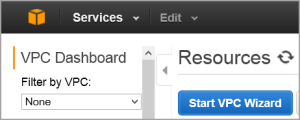
From the VPC Dashboard, click Start VPC Wizard.
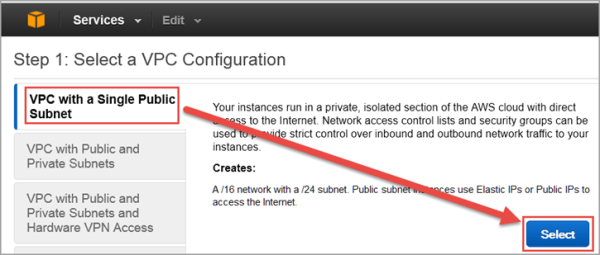
Click Select to set up VPC with a Single Public Subnet.
By default, when a VPC is created, an Internet Gateway is automatically assigned to it. If the assigned gateway and/or IP block is insufficient, you can modify the IP block and subnet information according to your needs. You can also create a new Internet Gateway and assign it to your VPC.
| Note: | In order for two VPCs to communicate, there should not be any overlapping IP addresses between the two VPCs. A good example is 50.0.0.0/16 and 100.0.0.0/16. |
Give your VPC a name.
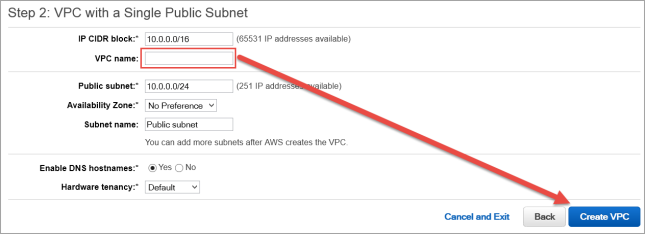
Click Create VPC, and then click OK. Note the VPC ID.
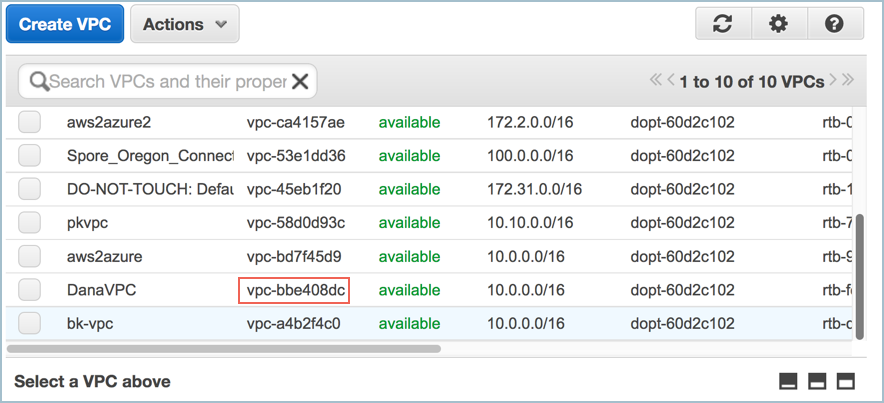
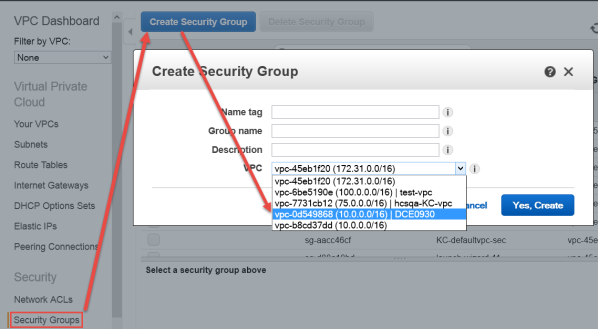
As part of VPC creation a default Security Group is assigned to your VPC. For KeyControl communication, it is recommended to create a Security Group that only enables certain inbound services/ports.
Select the VPC ID from the drop-down list, selecting the VPC that was just created above. Make sure No VPC is NOT selected.
Click the Inbound Rules tab.
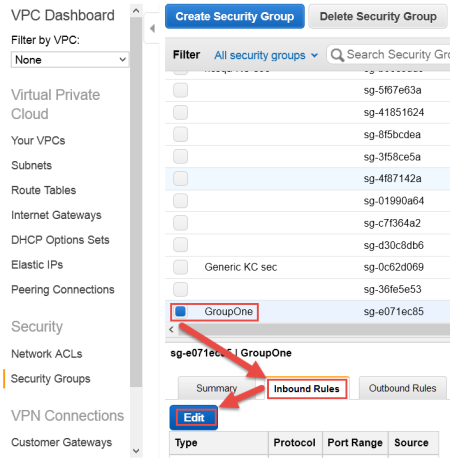
The Edit inbound rules dialog box appears.
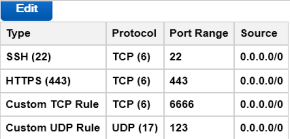
Click SSH from the drop-down Type menu. In the Source field, enter the IP address for SSH communication with KeyControl.
| Important: | The examples below use 0.0.0.0/0, which allows access from any IP address anywhere in the world. Make sure you specify the appropriate IP addresses based on your company's security policy. |

The end result should look like this, with the appropriate specific IP addresses for your company displayed in the Source column:
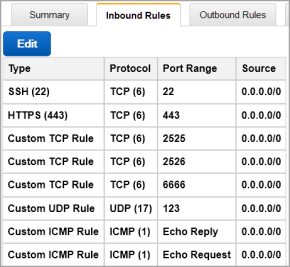
If this KeyControl instance will be deployed in a cluster, the following rules must be implemented in addition to the above list:
The final result should look like this:
AWS has two separate pools for Elastic IP (EIP) addresses: one pool is for EC2-Classic, and the other for EC2-VPC. It is crucial to allocate the EIP for KeyControl from the EC2-VPC pool.
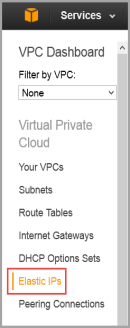
From the VPC Dashboard (Services > VPC ),click Elastic IPs.
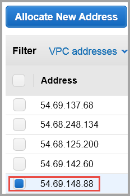
Click Allocate New Address.
It should display that the EIP is for VPC usage and not EC2. This appears in the Scope column.
Click Yes, Allocate. Make a note of the allocated EIP.
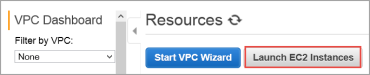
From VPC Dashboard, click Launch EC2 Instances.
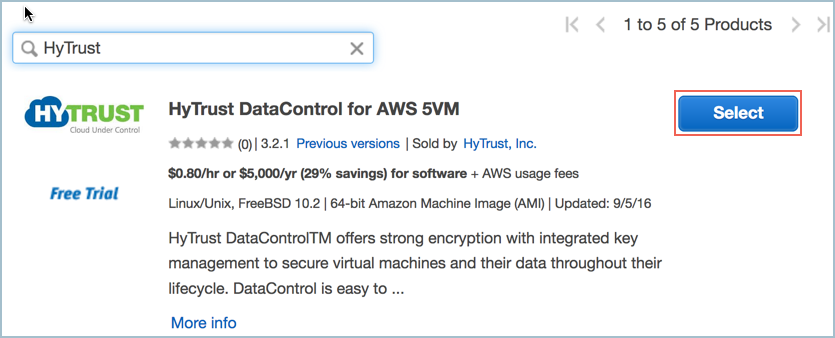
From Step 1: Choose an Amazon Machine Image (AMI) dialog box, click AWS Marketplace, and type HyTrust in the search box. Press Enter:
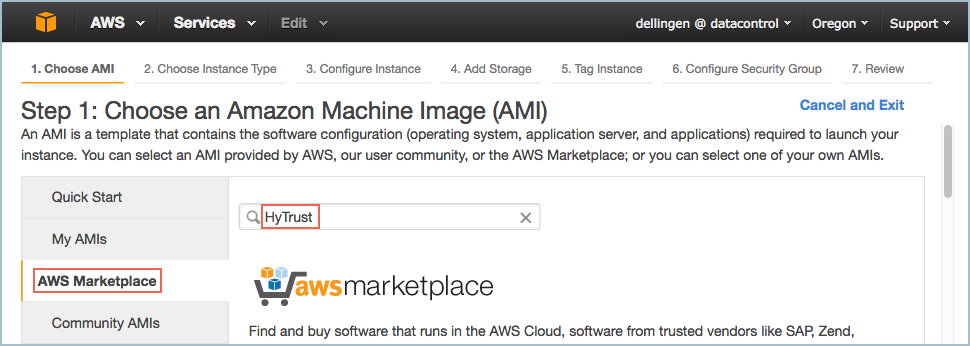
A list of HyTrust DataControl AMIs appears. Read the descriptions, and pick one by clicking Select. For this tutorial, we clicked the first one listed, HyTrust DataControl for AWS 5VM.
The Step 2: Choose an Instance Type dialog box appears.

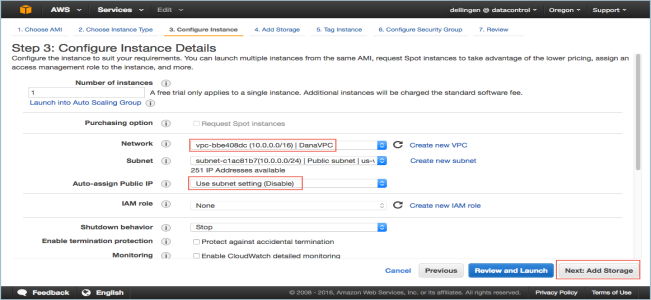
The Step 3: Configure Instance Details dialog box appears.
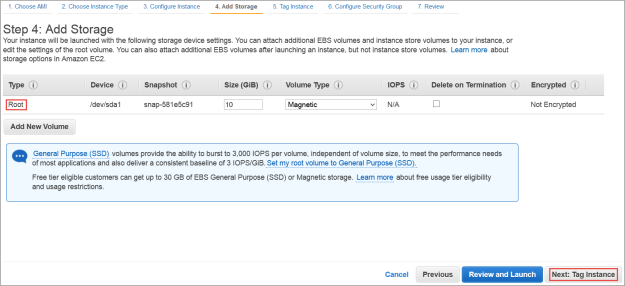
The Step 4: Add Storage dialog box appears.
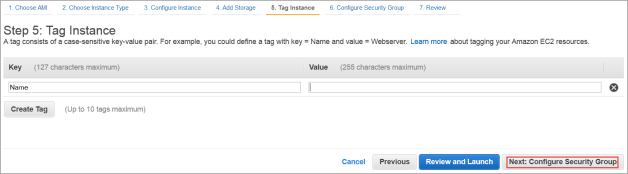
The Step 5: Tag Instance dialog box appears.
The Step 6: Configure Security Group dialog box appears.

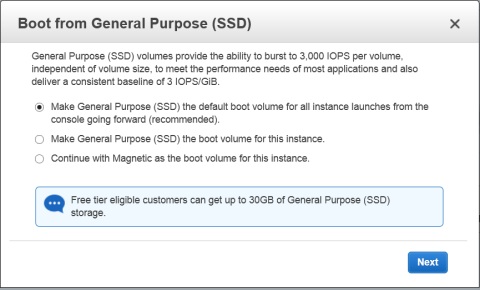
The Boot from General Purpose (SSD) dialog box appears.
The Step 7: Review and Launch dialog box appears.
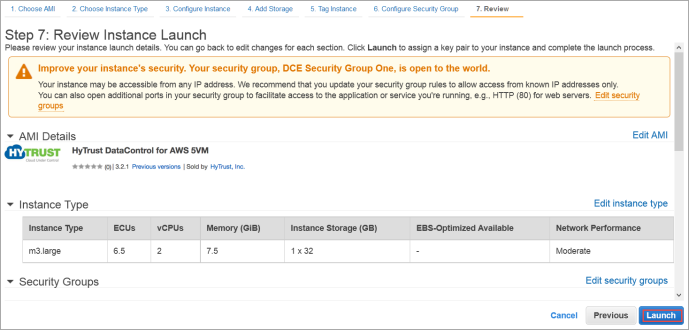
0.0.0.0/0, are "open to the world."
The Select an existing key pair or create a new key pair dialog box appears:
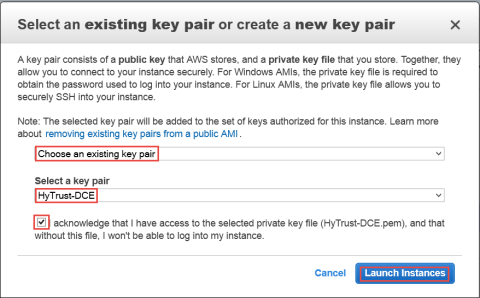
Click Launch instances. AWS displays a message that the instance is launching and displays the instance ID. Make a note of the ID, as it will be your initial KeyControl password.

Use ssh to log into the new KeyControl menu system. You will use the key pair associated with the
VPC and the EIP associated with the instance. Use the login ID sysmenus. The initial password is the instance ID shown above. Issue the following command from your UNIX shell:
# ssh -i <my_key> -l sysmenus <my_EIP>
When you are prompted for the sysmenus password, enter the instance ID of your VM as shown above. You are then prompted to change the sysmenus password. Passwords must be a minimum of eight characters.
The menus to which the root/password combination enables access are where diagnostics and settings can be manipulated for this system during its lifetime. Without the password, access to the system for these tasks is impossible. It is critical that the password be stored safely somewhere.
Note that this is not a general login account. Since this is a secure node, you cannot get a shell prompt, and only have access to a basic menu system that allows for hardware change, network setup and general debugging capabilities. We cover these topics later.
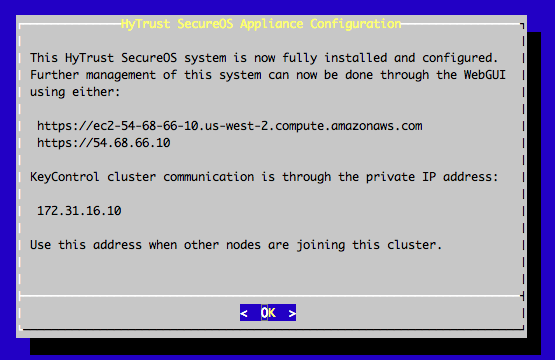
The last step in configuration is choosing whether you are going to add this new KeyControl instance as a new node to an existing cluster:
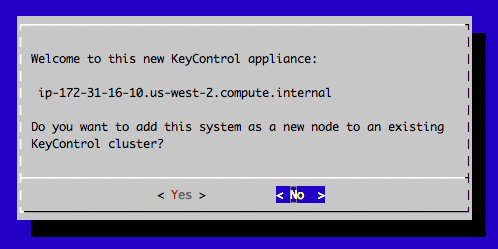
If this is your first KeyControl node, select No. The installer completes and displays a message stating that the the system has been configured and pointing you to the webGUI interface. Make a note of this IP address, as you will need to use it to configure your KeyControl system.
The first time you log into the webGUI for a KeyControl node, you need to do some basic initialization. After this process is complete, you can log directly into the webGUI without going through these steps.
Use a web browser to navigate to the IP address assigned to the KeyControl node during installation.
| Tip: | If you do not know the IP address for the node, from the main System Console Menu select Manage Network Settings > Show Current Network Configuration. |
If prompted, add a security exception for the KeyControl IP address and proceed to the KeyControl webGUI.
KeyControl uses its own Root Certificate Authority to create its security certificate, which means that certificate will not be recognized by the browser. For details,
On the HyTrust KeyControl Login page, enter secroot for the username and the instance ID for your VM as the password.
| Tip: | If you do not know the instance ID, look at the list of sessions in AWS. The instance ID is listed in that table. |
On the Change Password page, enter a new password for the secroot account.
On the Configure E-Mail and Mail Server Settings page, specify your email settings.
If you specify an email address, KeyControl sends an email with the Admin Key for the new node. It also sends system alerts to this email address.
To disable alerts, select the Disable e-mail notifications checkbox. You can then download the Admin Key from the Settings tab in the webGUI.
When you are done, click Update Mail Settings.
KeyControl displays the KeyControl webGUI. For details about the tasks you can perform from the webGUI, see the HyTrust DataControl Administration Guide.