KeyControl Configuration
Contents
- Introduction
- Changing Hardware on a KeyControl Node
- Authentication Tunables
- Static Routes
- Environments with no email support
Introduction
This chapter covers the various KeyControl configuration parameters that be changed on the KeyControl cluster.
Changing Hardware on a KeyControl Node
If you change any of the hardware on a KeyControl node or if a KeyControl node is virtualized and you move the VM, you may be forced to go through master key recovery. Once you complete master key recovery, all other nodes in the cluster will be removed. We therefore recommend the following procedure be taken when upgrading hardware. Let's assume that you have two nodes, KeyControl-1 and KeyControl-2 and wish to change hardware in KeyControl-1:
- Remove KeyControl-1 from the cluster (while logged into KeyControl-2)
- Bring down KeyControl-1 and change the hardware
- Reinstall b and add it back to the cluster
Reinstalling KeyControl-1 and adding it back to the cluster is a simple operation that should take no longer than a few minutes. Once KeyControl-1 has been authenticated, replication of the object store onto KeyControl-1 is a quick and simple operation performed automatically without administrator intervention.
If you have a two-node cluster, you have a window where only one KeyControl server is available (while upgrading hardware in the other). We recommend that you bring a new node into the cluster temporarily, say KeyControl-3, to avoid any downtime. This could be as simple as spinning up a temporary virtual machine to run KeyControl-3.
Authentication Tunables
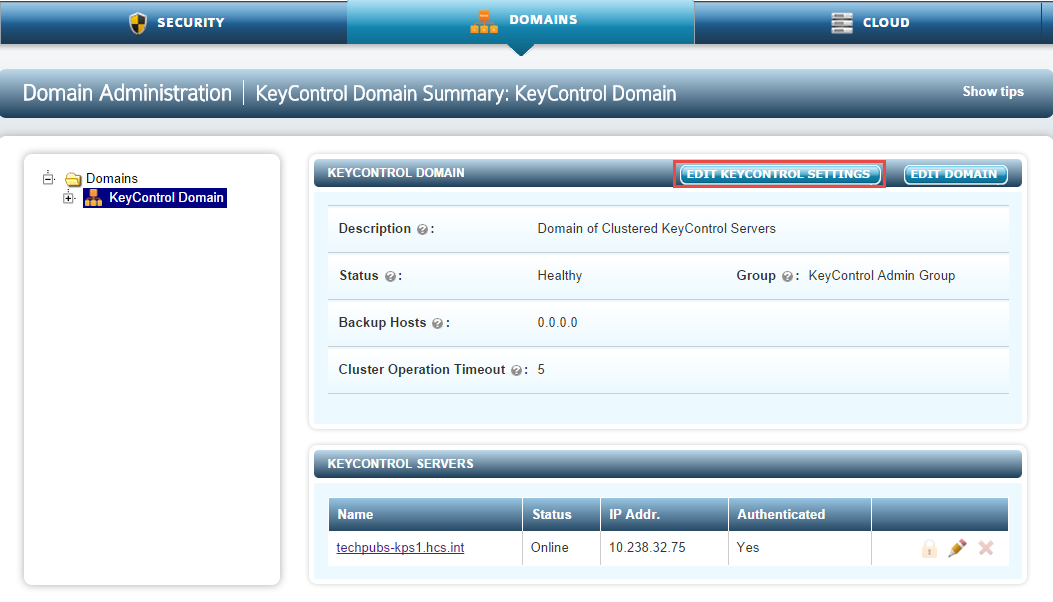
There are a number of tunables related to authentication that are available under EDIT KEYCONTROL SETTINGS. To access these tunables, from the DOMAINS tab, select the KeyControl Domain, and then click EDIT KEYCONTROL SETTINGS.
There are four tunables that can be modified:
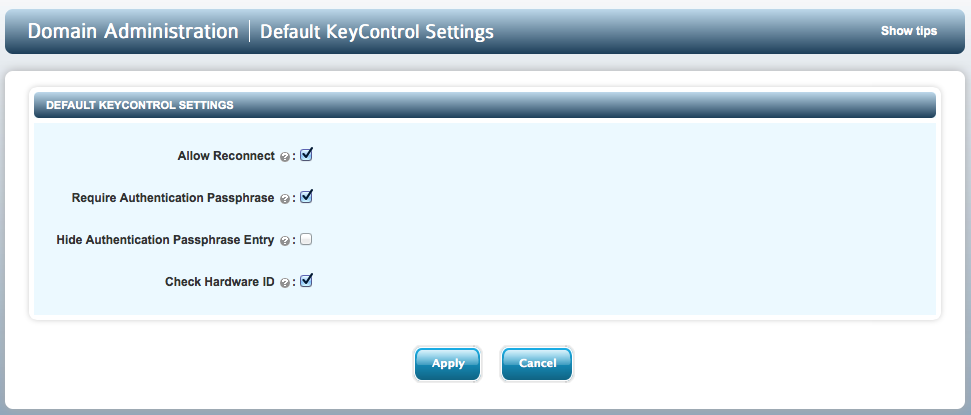
The tunables available are:
- Allow Reconnect - default YES
- Require Authentication Passphrase - default YES
- Hide Authentication Passphrase Entry - default NO
- Check Hardware ID - default YES
Nodes that have been authenticated successfully will, when restarted, attempt to automatically reconnect to the KeyControl cluster. If this tunable is YES, then such attempts are allowed (subject to hardware ID check, see below). If NO, then no reconnect is allowed and an admin has to redo authentication any time a node restarts.
NOTE: This is a security feature and the default is most permissive. To strengthen security, set to NO. This will be probably considered too painful by any but the most paranoid.
NOTE2: The exception to reconnect is when you have a single node KeyControl "cluster", where there is no one to reconnect to. A restart of such a KeyControl has no one to validate against and so works regardless of this tunable.
Initial authentication performs a handshake between a new node and an existing KeyControl cluster. If this tunable is YES, a one-time passphrase will be required on both ends to give an out-of-band assurance that the node is valid and should be allowed to join. If NO, then no passphrase is required and joining the node is assumed valid.
NOTE: This is a security feature and the default is strongest. It should only be set to NO in a very secure environment.
If a passphrase is required, it is entered both on the console and in the GUI. Passphrase is for one-time use in a very short window and is therefore not something that generally needs the heaviest security. If this tunable is set to YES, passphrase entry on the console is not echoed and requires a second entry for verification. If it is set to NO, passphrase entry on the console is echoed back to user and only a single entry is needed.
NOTE: The webGUI entry is never echoed. The passphrase is checked immediately and if not correct, re-entry is required.
On reconnect (if reconnect is allowed, see above) we check a collection of hardware signatures to validate that a node is indeed the same as we expect. If this tunable is YES, then this id is checked each time reconnect happens. If it is NO, this id is not checked. If reconnect is rejected, authentication has to be redone for the node.
NOTE: This should only be disabled in very, very secure environments. Even in these environments it should be left on unless it is known that machines will be moved around frequently.
Editing KeyControl Domain Settings
Select the DOMAINS tab and select one of the domains, for example KeyControl Domain. After clicking EDIT DOMAIN, you will see the following screen:
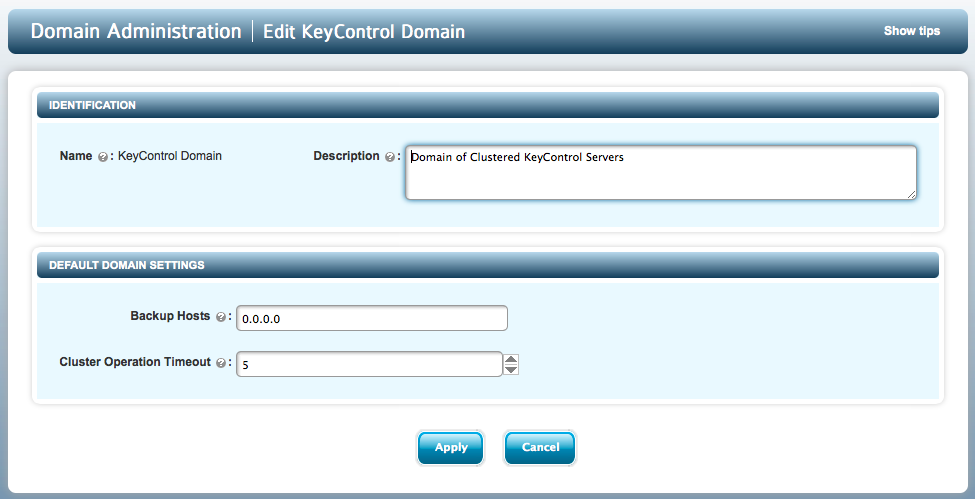
You can change the following settings:
Description - Enter the Description of the KeyControl Domain. This is optional.
BackupHosts - Enter the names or IP addresses of host systems that are allowed to NFS mount the backup directory.
Cluster Operation Timeout - This value is the amount of time that a KeyControl node waits to receive a response from another KeyControl node. If a response is not received by the specified timeout, the KeyControl cluster goes into degraded mode which indicates a network connectivity problem. You should enter a value in the range of 1-30 seconds. By default, the cluster timeout is set to 5 seconds. If a KeyControl cluster frequently switches between degraded state and healthy state, increase the timeout value of cluster operation. Err towards setting the timeout value at a lower number. This ensures that if an operation fails, admins notice it quickly and realize that the cluster is in degraded state.
Make sure your settings are accurate and click APPLY.
Static Routes
KeyControl uses a single Network Interface Controller (NIC) for communication over networks. Routers forward packets using the route information that is calculated using dynamic routing algorithms. In some network environments, return routing from KeyControl may not go back to the sender. To ensure proper routing for end-to-end communication between the GUI and KeyControl, it may be necessary to add static routes to KeyControl. Since KeyControl is a locked-down system, there is a menu option to add or delete static routes.
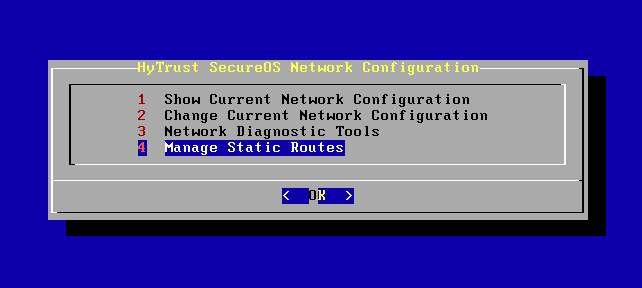
To set up static routes in KeyControl, go to the console's main menu and select Manage Network Settings:
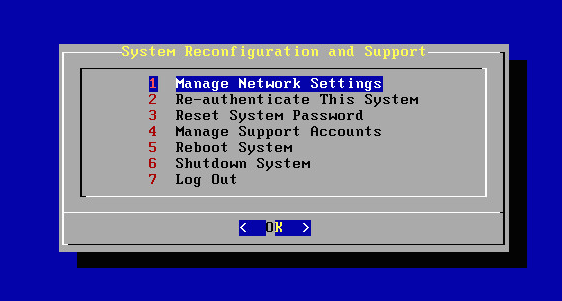
Select Manage Static Routes:
Here, you can view the list of already configured static routes, add or delete static routes. To add static routes, select Add Static Route.

Enter the Network Address and Gateway and press Enter.
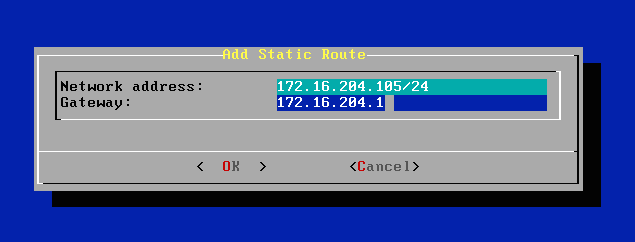
Check the information entered and if you want to force-add that route, select Yes. If you do not want to force-add that route, select No. KeyControl takes you back to the Static Routes menu. Select Add Static Route again and enter the corrected network address and gateway.
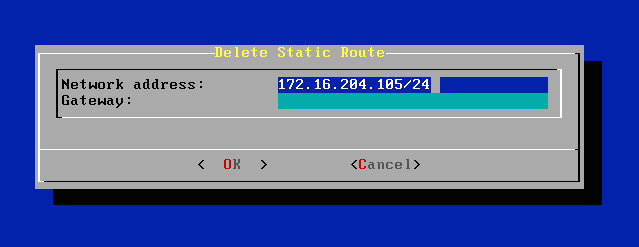
To delete static routes, select Delete Static Route on the Static Routes menu. Enter the network address or gateway, and select OK. KeyControl deletes all the static routes that match.
Environments with no email support
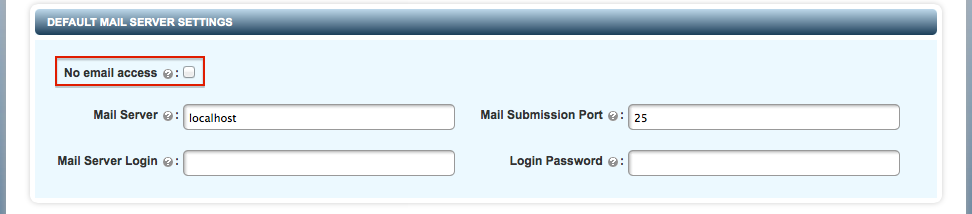
Just after your first logon, you either enter an email address and email server settings for the "secroot" user or you check the No email access button. The latter should only be used for environments where there is no email access.
Without email access, you will need to monitor syslog for alerts or log on and check by clicking the Alerts button at the top right of the GUI page.
If you disable email support, the most important point to remember is that admin key parts are posted as alerts and should be copied from the alert screen to a safe place, after which you should delete the alert.
If you believe that there is a likelihood that you will want to switch back to using email at some point in the future, you should always add email addresses to any account created to avoid having to do so in future. Of course, the choice is yours.
Let's consider a system where we have the following two users:
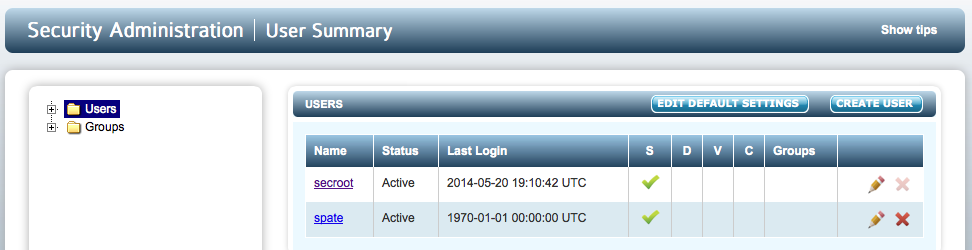
We have the initial secroot user and one more security administrator. We will have generated alerts to post admin keys twice:
- On first install a single key part will be delivered to secroot.
- When adding spate, we will post key part alerts to both secroot and spate.
If you are secroot, make sure you only retain/use the second key part, unless you want to restore from a backup image taken prior to the creation of spate, because the key part generated on first install will no longer work.
Adding email support back
If you wish to add email support, select the SECURITY tab then click EDIT DEFAULT SETTINGS and you will see the email settings information part way down the screen:
Simply uncheck the box, fill in the email settings and click Apply.
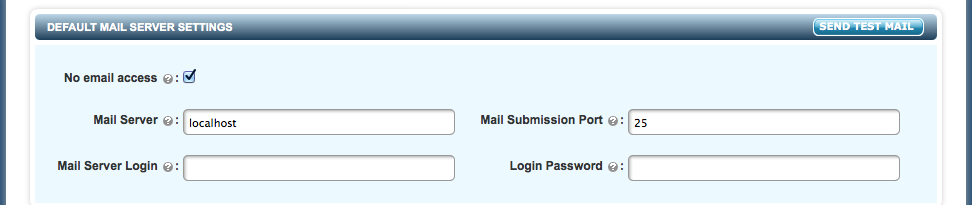
You can click the SEND TEST MAIL button to send a test email which will look similar to the following:

If you get the email, you're good to go! The only other thing that you may wish to do is to generate the key parts in order to have them sent to the security admin's email accounts. This is located on the same screen where you enabled email access. Pick the number of parts n that you wish to generate (n of m where m equals the number of security admins).
NOTE: if you do generate new key parts, the old key parts will no longer work.